Skip to content
The Pakistan Traveler
Travel best Places in the World
Home
About
Destinations
Pakistan
Islamabad
Punjab
Balochistan
Khyber Pakhtunkhawa – KPK
Sindh
Gilgit Baltistan
Kashmir Pakistan
World
Turkey
Pamukkale
Aphrodisias
Canada
Crowfoot Glacier
Bow Lake
Moraine Lake
Minnestimma Lakes
Sentinel Pass
Peyto Lake
The Plain of Six Glaciers
Johnston Canyon
Larch Valley
The Big Beehive
Australia
The Great Ocean Road
The Ayers Rock
Italy
Venice
Amalfi Coast
Food
Blog
Search for:
Search
Search
The Pakistan Traveler
Travel best Places in the World
Search for:
Search
Search
Home
About
Destinations
Pakistan
Islamabad
Punjab
Balochistan
Khyber Pakhtunkhawa – KPK
Sindh
Gilgit Baltistan
Kashmir Pakistan
World
Turkey
Pamukkale
Aphrodisias
Canada
Crowfoot Glacier
Bow Lake
Moraine Lake
Minnestimma Lakes
Sentinel Pass
Peyto Lake
The Plain of Six Glaciers
Johnston Canyon
Larch Valley
The Big Beehive
Australia
The Great Ocean Road
The Ayers Rock
Italy
Venice
Amalfi Coast
Food
Blog
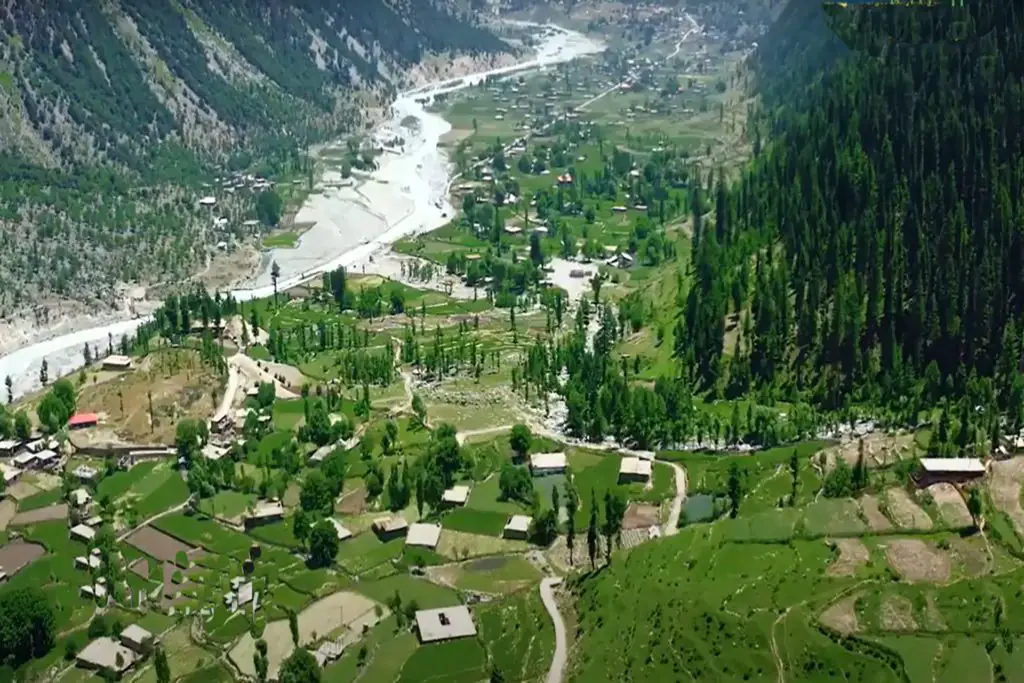
How to Draw a Lake: Capturing Nature’s Serene Beauty on Paper
Leave a Comment
←
Previous Post
Next Post
→
Related Posts
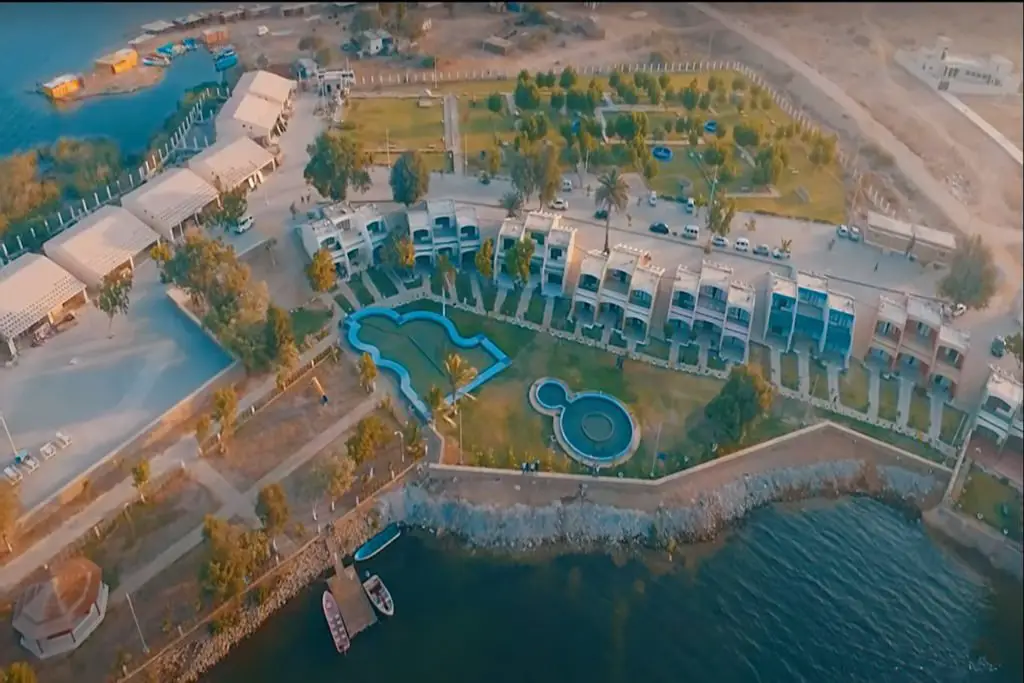
Exploring the Enchanting Beauty of Sarfaranga Cold Desert Skardu: A Hidden Gem in Skardu
Ramsar Convention 1971: Safeguarding Wetlands for Generations to Come
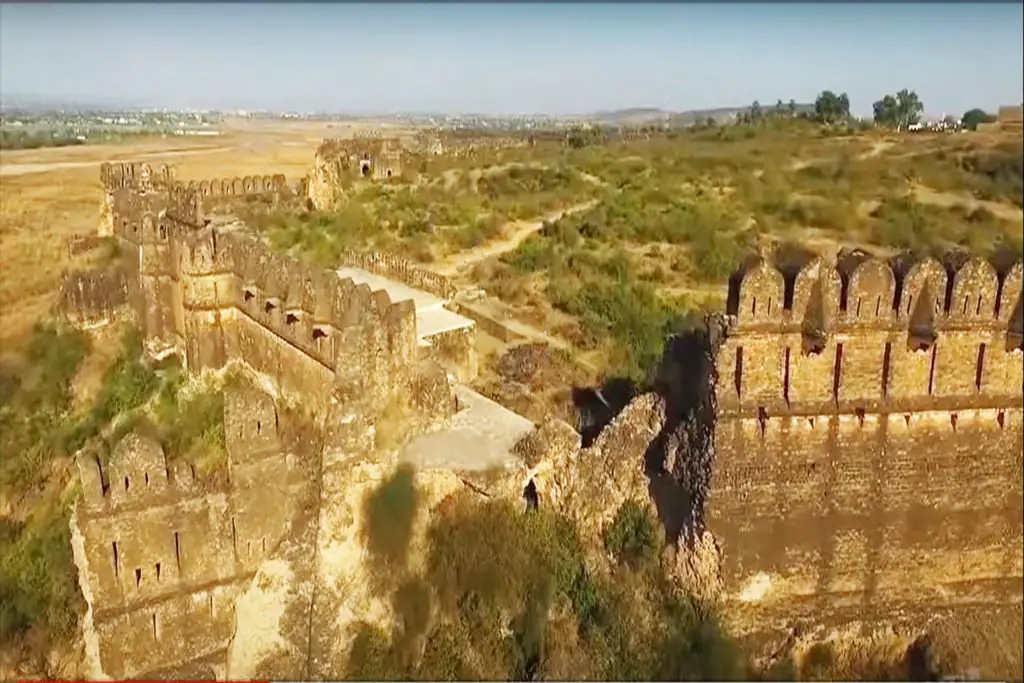
Journeying Through Rohtas Fort Jhelum: A Living History
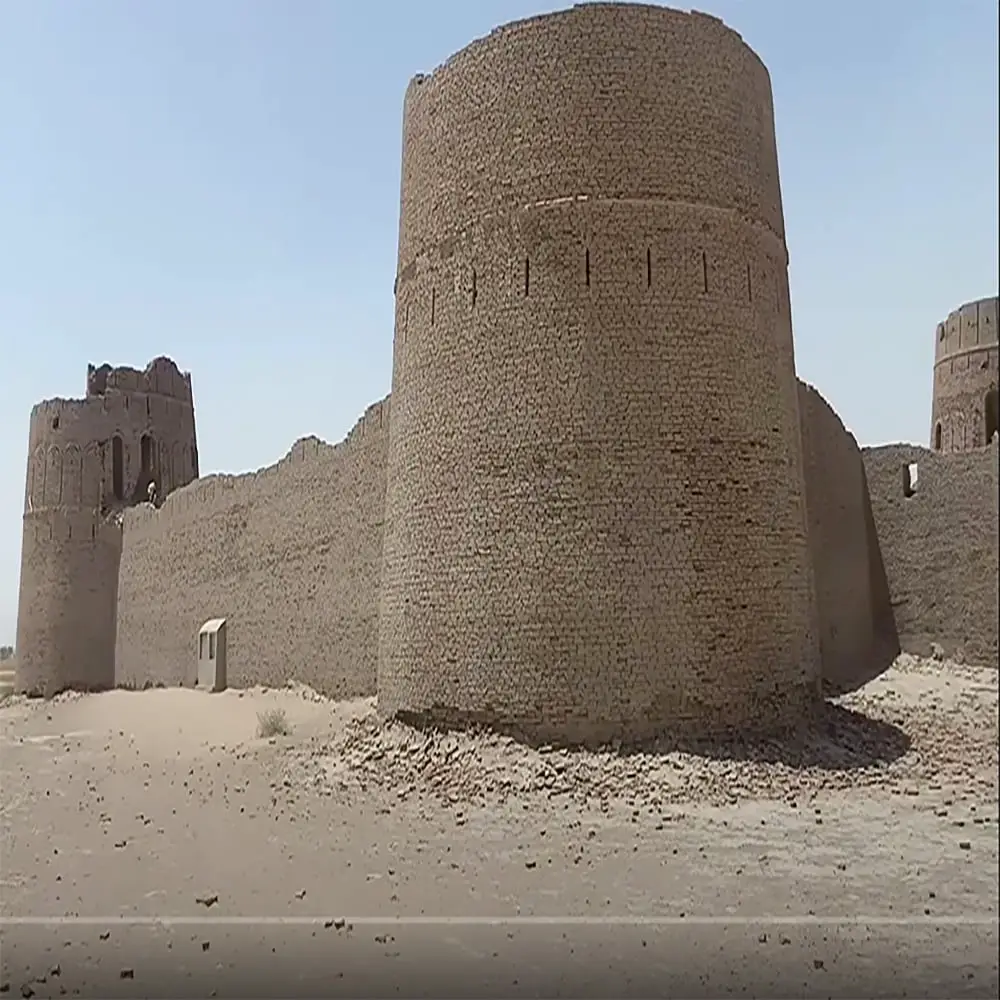
Jamgarh Fort Bahawalpur: A Symbol of Pakistan’s Regal Legacy
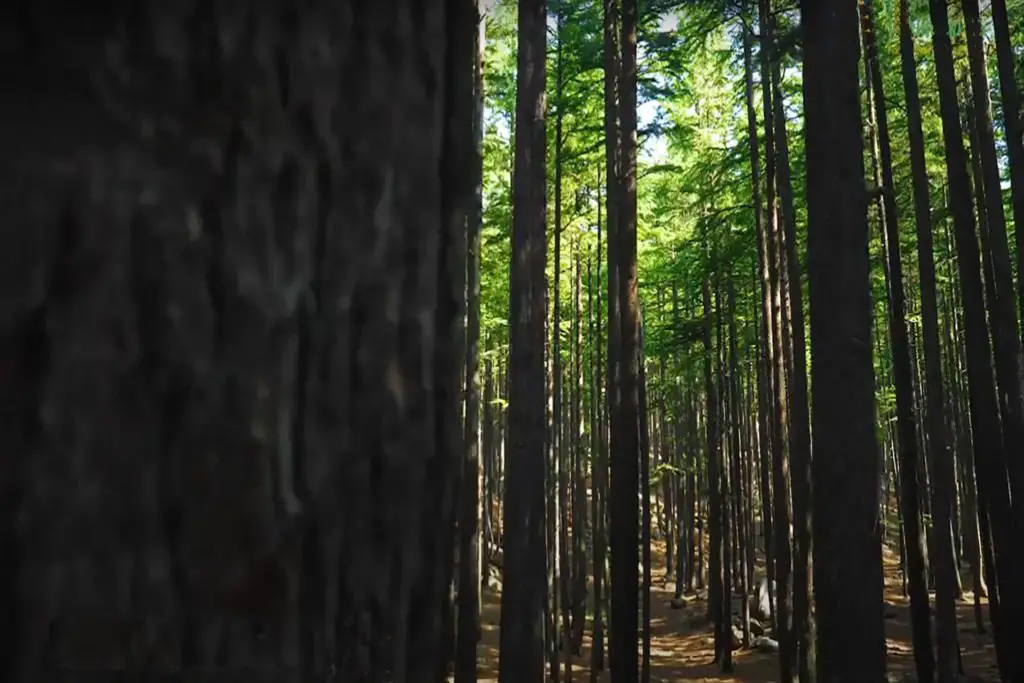
All You Need to Know before Visiting Ushu Forest and Glacier in Pakistan KP Province
Utror Valley Kalam: A Paradise in Swat, KPK
Scroll to Top